Showing posts with label sewing. Show all posts
Saturday, February 1, 2014
Self Care Sewing Pledge
I love what Pattern Revolution is doing to end "Selfish Sewing." Reading this blog post was an "Ah-Ha" moment for me. So much of what we do as wives and mothers is for others. There is no reason to call doing a little sewing myself "selfish." I plan to take the pledge to end Selfish Sewing, instead choosing Self Care Sewing, guilt-free. Take the pledge!
Thursday, November 8, 2012
Pattern Testing ~ Go To Leggings
I recently tested a new pattern for Go To Pattern shop, the Go To Leggings. This is a versatile pattern for sizes 12mo-11/12 that includes shorts, capris, regular and extra-long lengths as well as a skirted option. Also included are variations including rouching, cargo pockets, bow cut-outs and ribbon trim. So many ways to customize your leggings!
I made the extra-long rouched leggings. My free arm made it hard to rouche the inside of the legs, so I only did the outer leg. These are in thermal knit and my big girl loves them! I also made a pair of bike shorts using the pattern. It is definitely a Go-To pattern!
Andrea is running a sale through 11/9/12. Use coupon code GTLDAY to get $1 off for the next 24 hours only. http://gotopatterns.com/ products/go-to-leggings/
I made the extra-long rouched leggings. My free arm made it hard to rouche the inside of the legs, so I only did the outer leg. These are in thermal knit and my big girl loves them! I also made a pair of bike shorts using the pattern. It is definitely a Go-To pattern!
Andrea is running a sale through 11/9/12. Use coupon code GTLDAY to get $1 off for the next 24 hours only. http://gotopatterns.com/
Sunday, April 29, 2012
Meet My Twin
I was happy to receive a hand-me-down dress form awhile back. She is adjustable at the neck, bust, waist, hips & height and has a hemming tool...pretty cool! Unfortunately, I am broader, thicker and wider than her in every direction.
My hubby made a sturdy new stand for my twin and I enlisted the help of my oldest daughter to turn her into a plus-size like me! We added 4" to the shoulders, 2" to the bust, 5" to the waist and hips and made her my height. I was able to use batting and fabric in my donation pile after cleaning my sewing room over the weekend. I'm excited to have a twin dress form just my size!
While I'm bearing all...Here is my Easter dress. The girls both had dresses, so I was the only one to sew for this Easter. I used Simplicity 2444, a vintage-feel knee-length dress with collar and sleeve variations. I made the boat neck with short sleeves in seersucker and pique as my wearable muslin. I was a size 18 by the pattern but ended up taking in 2" at the waist and lower back. Next time I'll know where to adjust and go down a size on the top. Darts at the waist make for easy adjustments.
I constructed the bodice and skirt separately and also lined the bodice. I think it was easier to fit this way, rather than make a front & back like the pattern directed. I highly recommend this pattern if you're looking for a retro-style dress with fun options.
Tuesday, April 10, 2012
Learning to Sew
I was so proud of my 9 year-old, Abby...she made Little Lizard King's Garden Party Dress for her little sister! Liz was updating the pattern, so Abby & I reviewed & sewed the revised dress. It turned out great!
This was Abby's second sewing project. She did great at following the picture tutorial and sewing straight seams. We used a large rubber band to mark her seam allowance and only had to tear out two seams that went wonky. Tutorials like these from Little Lizard King are how I learned to sew apparel and are a great way to learn!
Thursday, March 22, 2012
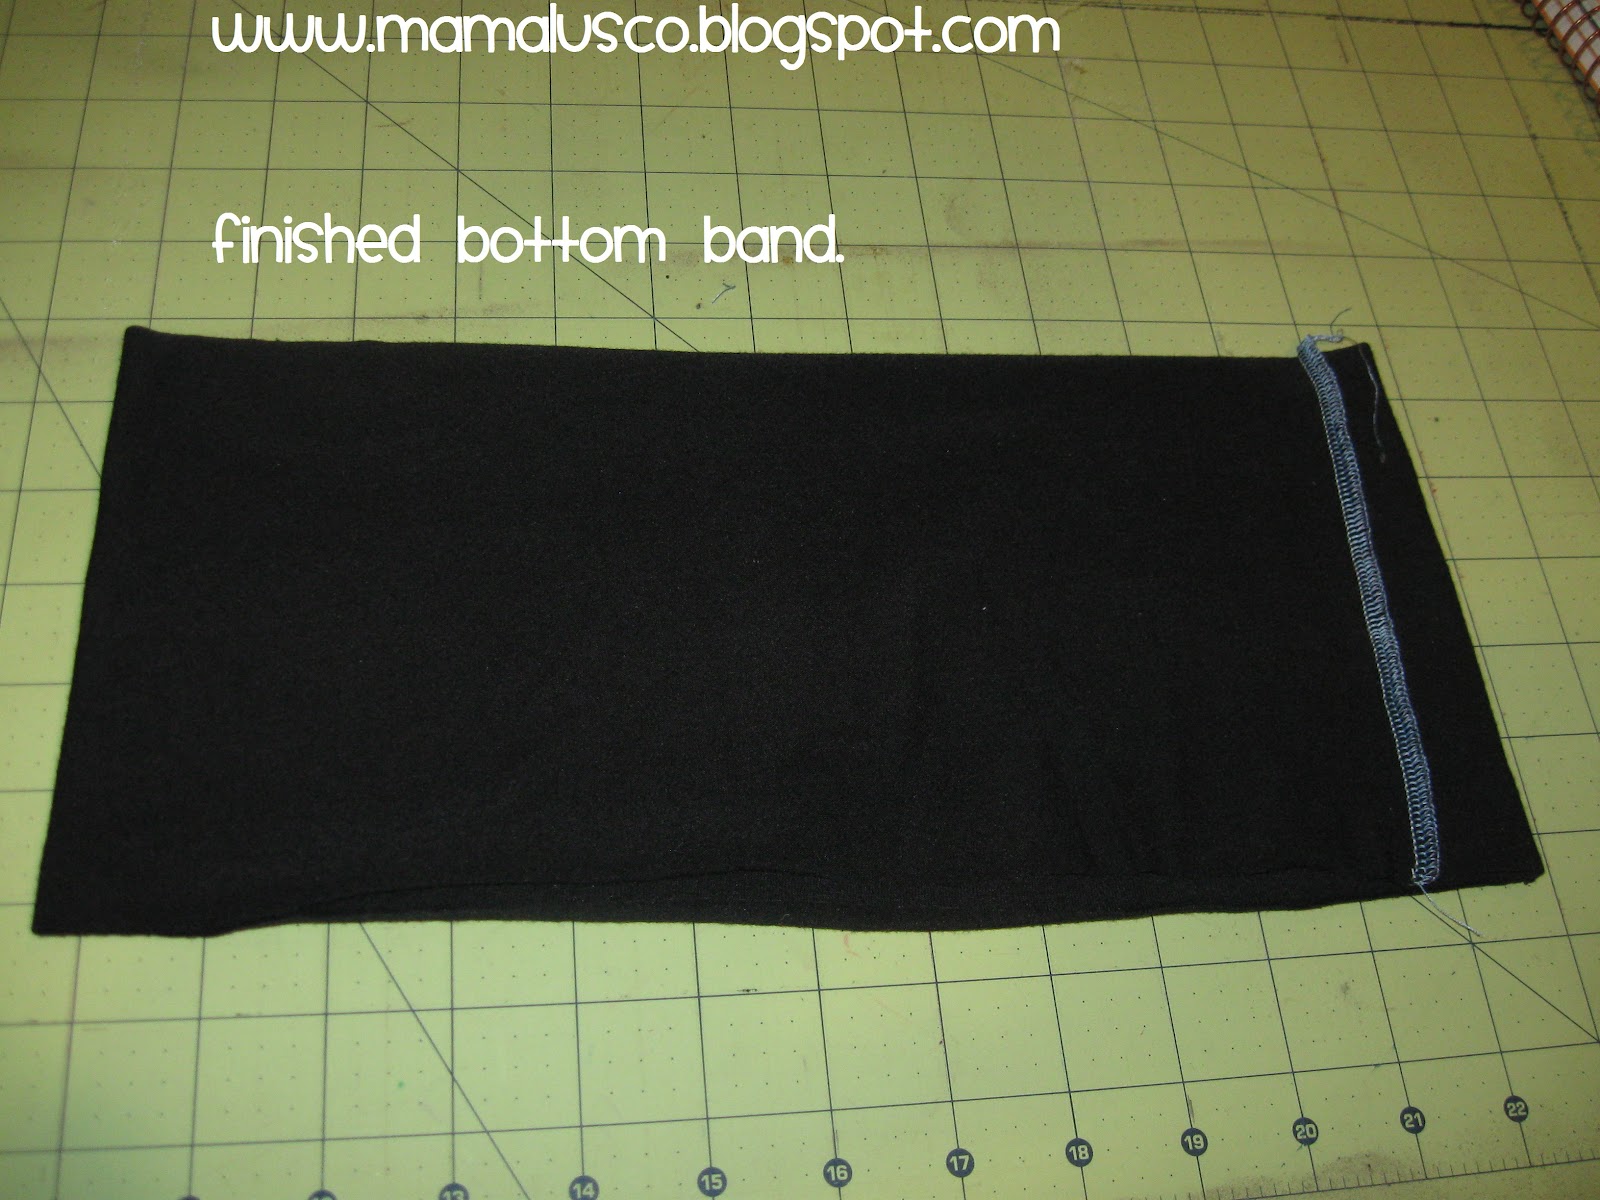
Tutorial ~ Easy Dolman Sleeve Shirt for Any Size
Please excuse Miss A's bedhead. She was home sick the day I made this top for her.
If you use this tutorial, I'd love to see pictures of your finished creations. Enjoy! ~ Angie
Friday, March 16, 2012
Pattern Review & Discount Code ~ Gigi Skirt from Lily Bird Studio
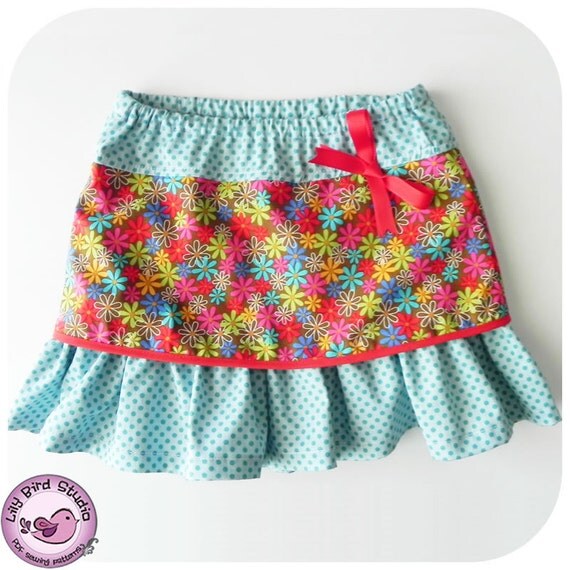
Looking for a cute, quick skirt to sew your little girl? Lily Bird Studio has a new one, the Gigi Skirt, for sizes 12mo - 8yrs. It's a two layer skirt with cute bias trim & accent bow. I was able to cut & sew this skirt in under 2 hours.
My tester version turned out a little small, but the pattern has been adjusted for a true-to-size fit. LBS uses "years" in sizing, but I've found that her "year" corresponds with typical US commercial sizing. My chubby Nugget is a big 4 year old, but wears a US sz 6 or 6 years in LBS patterns. Cecilia's patterns offer finished garment measurements, so you can choose the correct sizing before sewing. I also think she offers good details and instructions so even a beginner can sew these patterns. Her patterns are digitally drawn and this pattern printed on only a few pages.
Find the Gigi Skirt and dozens more PDF patterns for girls and boys at Lily Bird Studio. Cecilia is offering Mama Lusco readers 15% pattern purchases through Sunday, March 18th, using code:
MAMALUSCOLBS
That code makes me smile, since I'm trying to lose a few lbs (pounds) in a 6 month weight loss competition with my employer. Down 6 lbs so far!
Thursday, March 15, 2012
Pattern Review ~ Santa Monica Sweetheart Tankini from Peek-A-Boo Pattern Shop
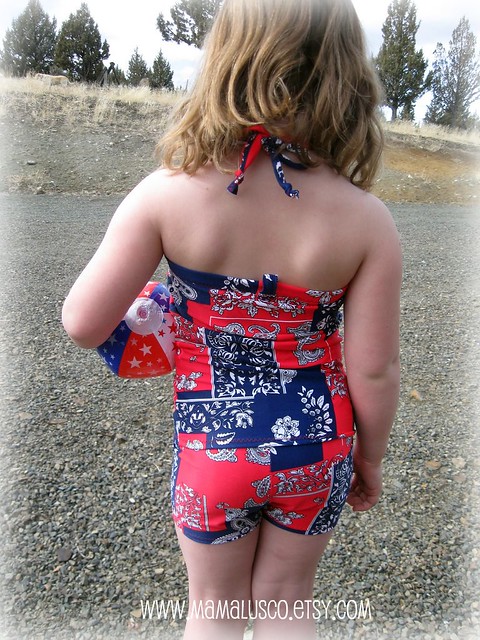
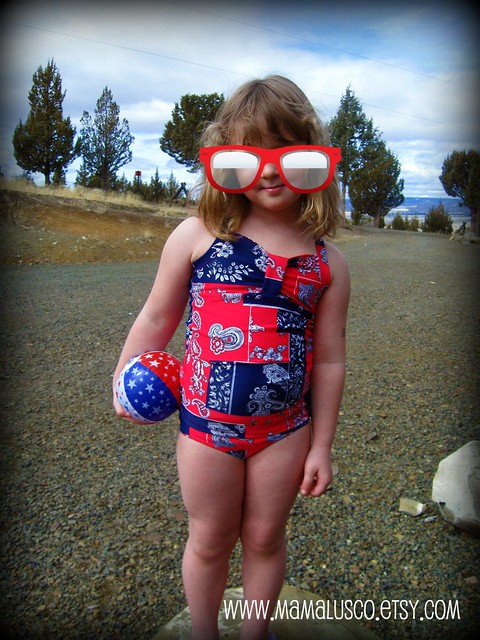
My first swimsuit was a hit! I was able to test the new Santa Monica Sweetheart Tankini pattern from Peek-A-Boo Pattern Shop. This little number has a sweetheart neck, halter or v-back, optional bodice ruffle, and 2 bottoms: a boyshort or brief. It comes in sizes 3mo - 8.
This was my first time sewing with lycra, but it was no problem since I'm already comfortable sewing knits. This pattern is geared towards beginners and is very simple; no fancy finishing techniques here. I was able to make the top and both bottoms in 2 hours using only a sewing machine. The pattern calls for elastic for the leg casings, but my chubby Nugget had great fit without using elastic. The boyshort rise was a little high, but I'd rather have extra fabric and be modest than not enough and have her tummy hanging out. The fit on the top & briefs were excellent!
I'd found this vintage-looking swim fabric at the thrift shop for 50 cents/yd....score! This suit took about 1/3 yd for all 3 pieces. Go ahead and splurge on some cute swim fabric since it takes so little!
I give this pattern 2 thumbs up. Don't be afraid to give it a try. The pieces are simple and easy to sew and I bet she'll love the swimming suit! She has another cute tankini set, too, the Coney Island Tankini. Find it at the Peek-A-Boo Pattern Shop here.
Saturday, February 18, 2012
Sewing for Me ~ Simplicity 2221 Easy Tunic
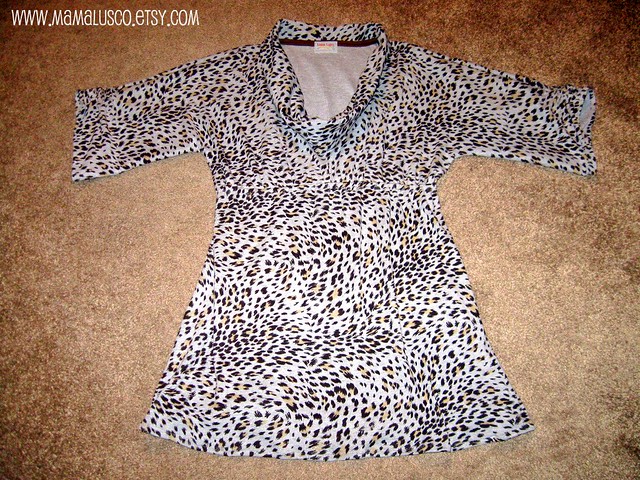
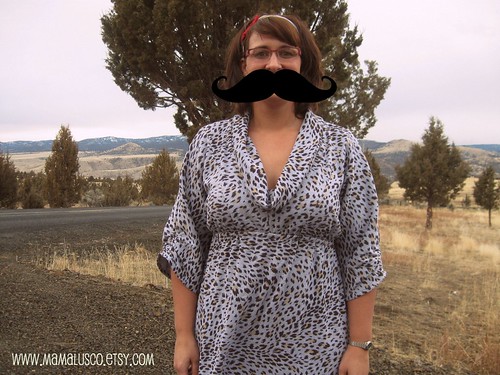
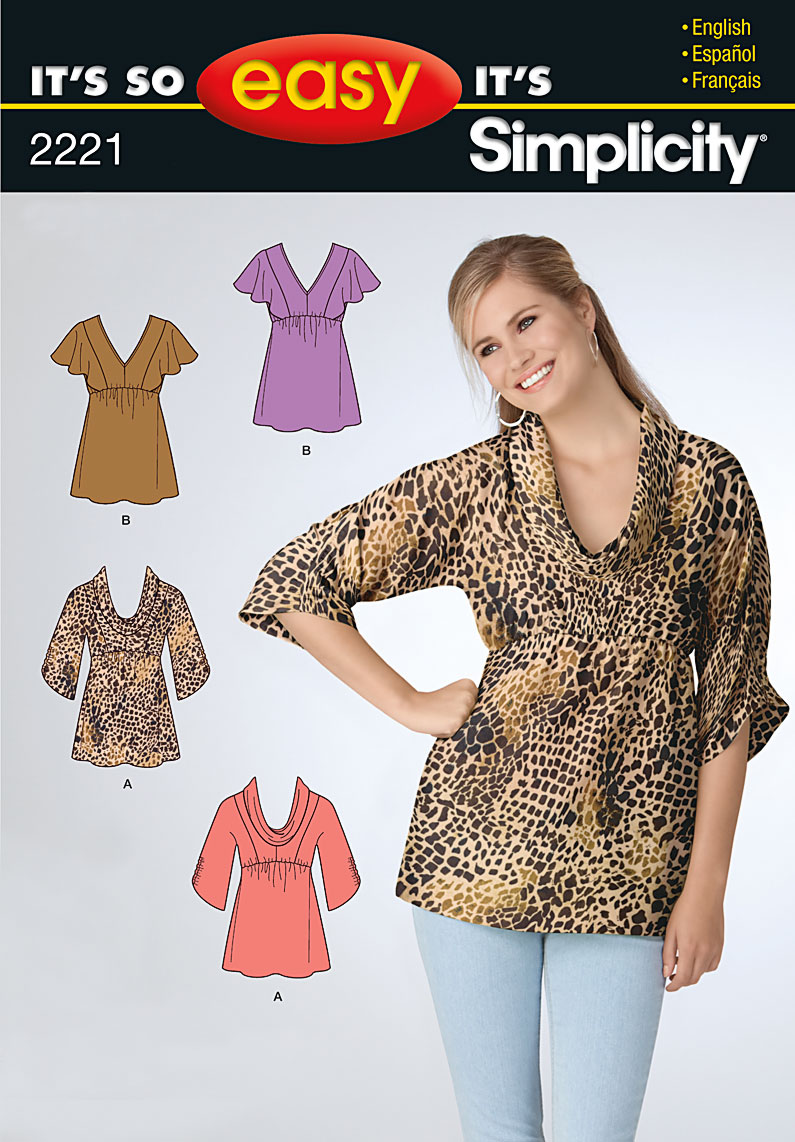
My BFF gave me some patterns for Christmas and I was finally able to sew for me! This is Simplicity E2221 cowl neck, 3/4 sleeve view A that I lengthened to mini-dress/tunic length. I've been wanting to copy one of Jill's tunics like this and this pattern is a really close imitation. My tunic is made in jersey knit that I found at a 50% off clearance sale at JoAnns last month. It's so comfy!
I was impressed with the directions for this pattern. They were easy to follow. The fit on this top is generous, but princess bodice seams make for easy adjustments. I took in the back by 4" overall at the waist. For my mini-dress, I lengthened the skirt to 22". I followed the directions pretty closely, but did baste & trim down my neck seam before applying the bias tape. What a pretty seam!
I'm looking forward to trying view B for a summer top or dress. I highly recommend this pattern. Read my full review here on Pattern Review.com.
Wednesday, February 8, 2012
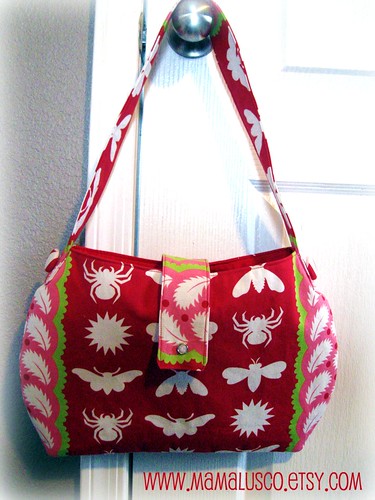
Super-Sized One-Hour Bag Tutorial
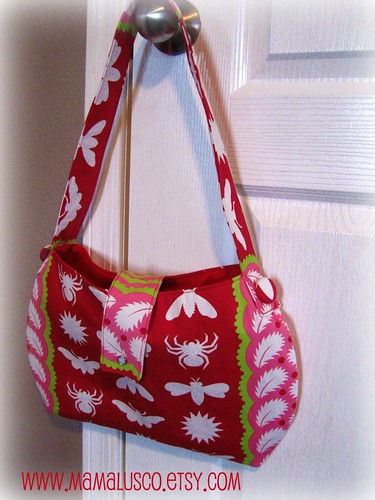
Recently, Sew Can She featured the One Hour Bag tutorial from Ric Rac. This was one of the first bag tutorials that I found but I'd never made it. Sew Can She is having a One Hour Bag sew-along, so I jumped in!
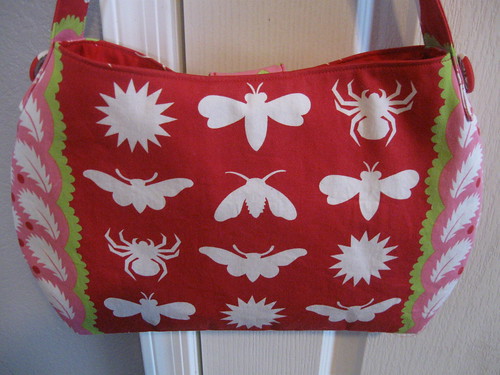
I prefer a bigger shoulder bag, so I super-sized the template. I was out of magnetic snaps, so I improvised with a flap closure with a snap. Flaps usually are enough to keep a bag closed, but the snap will secure it shut if needed. My pocket is also bigger and I sewed it down the middle to make a double pocket. The finished size of my bag is 9.5" tall x 15" wide with a 12" shoulder drop. It's just big enough for my wallet, organizer & Kindle.
This bag took about 2 hours with pressing & topstitching then making & applying the covered buttons.
It's a simple, quick bag. I think these would make great gifts for your favorite friends. I've uploaded a copy of my template here if you'd like to make a Super-Sized One-Hour Bag, too. If you use my template, please send me a photo of your bag...I'd love to see it! Find more versions of the One Hour Bag in Sew Can She's Flickr pool. There's still time to join the sew-along!
Subscribe to:
Posts (Atom)