Facebook

Facebook
Follow on Facebook

Follow on Pinterest

About Me

My photo
Believer, Daughter, Wife, Mother, Sister, Aunt, Registered Nurse, Seamstress, Crafter, Housekeeper, Cook, Baker, Gardener, Reader, Keeper of the chickens, Goat Herder, Homesteader, Thrifty, Usually sane, Overworked, Mom of 3. Thanks for stopping by - I appreciate your comments! ~ Angie

Pinterest

Followers

Thursday, March 31, 2011

A Peek of LA's Loot


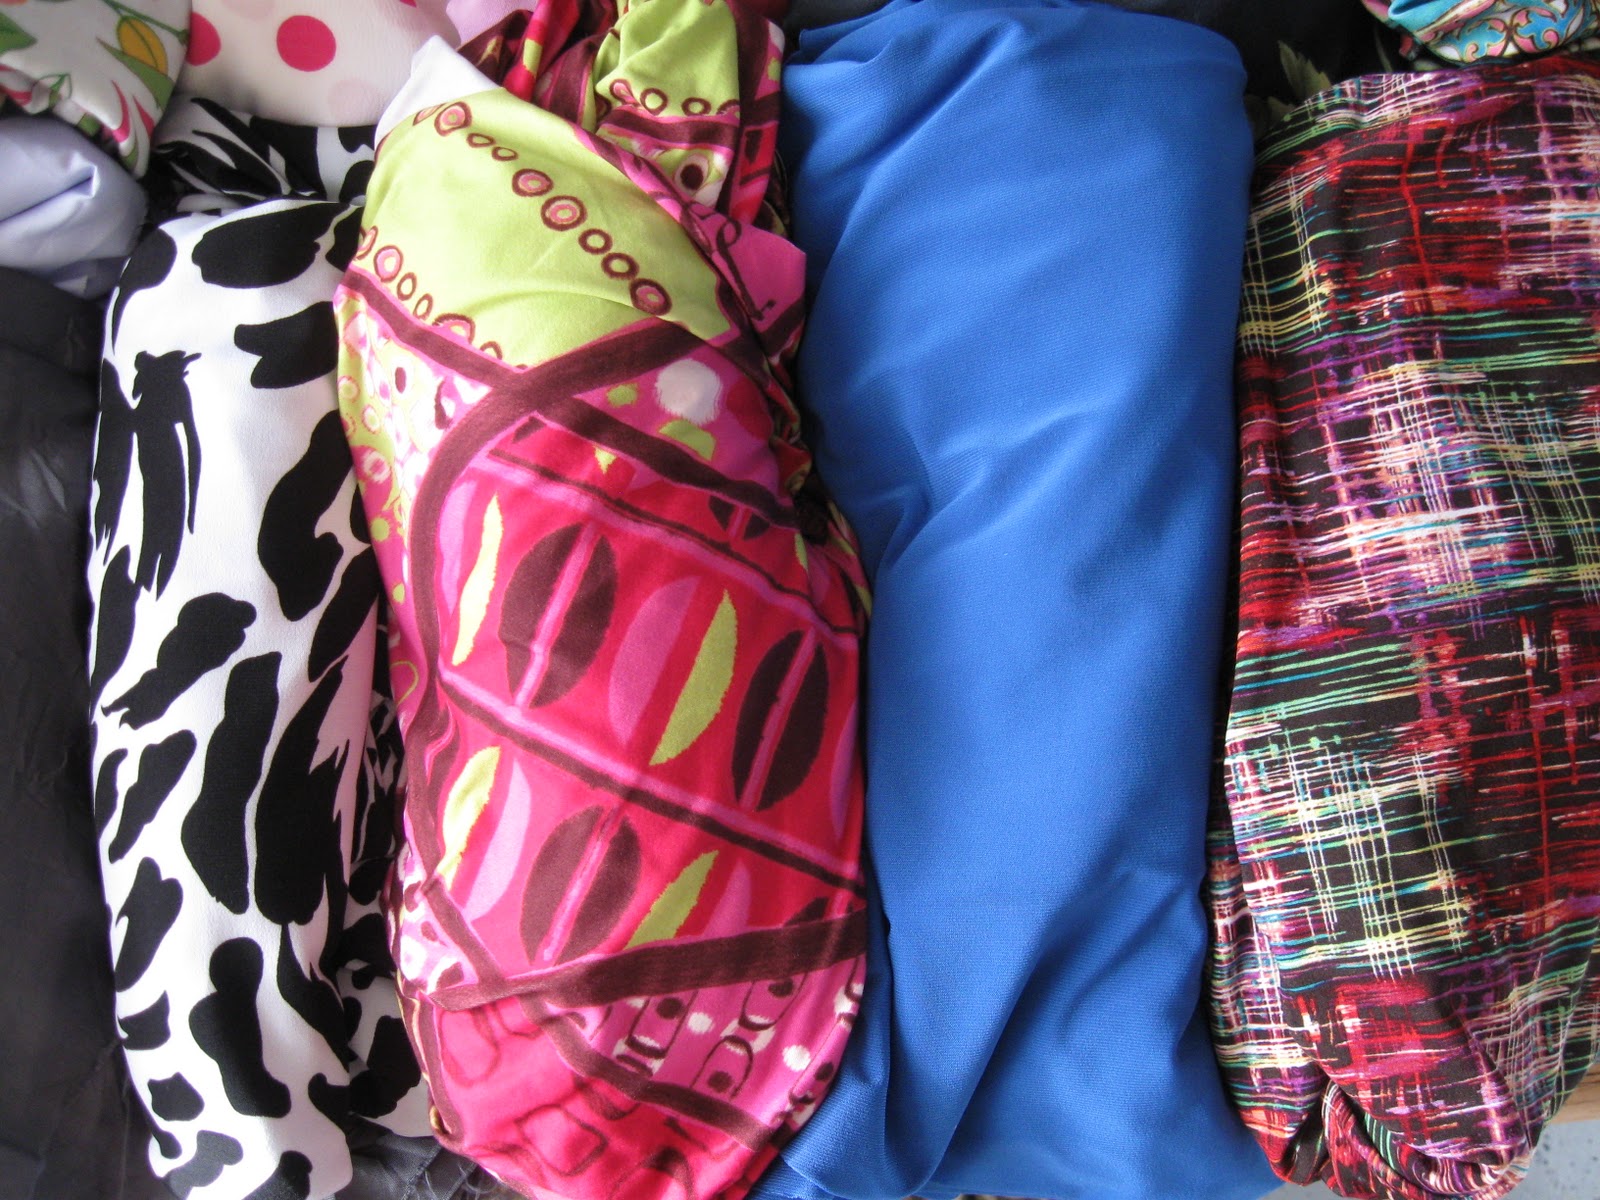
One of my loyal followers, Vintage Lisa, asked for pictures of my new fabrics, so here they are!
Washed and sorted
Jersey Knits
Shirred pink, white minky, denim, wovens, spandex on top;
Floral poly blends, linings, stretch poly on bottom.

Poly
Shirred pink; minky; denim; woven camo
Pretty woven floral; poly polka dots; lycra spandex in red/pink camo, black floral, abstract blues
Pretty stretch polys
Yesterday, Abby & I recovered some cardboard boxes & cans with wrinkled paper bags to make my storage a little prettier and more uniform.  I filled 4 boxes with my new fabrics :)


Now that all the new fabrics are washed and sorted, it's time to start cutting out some clothes for me!

Sunday, March 27, 2011

LA Spring Break 2011 & Fashion District


We're back!  After a whirlwind month of March, it sure feels good to be home again!  The last 10 days we've been on Spring Break and for us, that meant a mission trip with the church youth group to Southern California.  We drove 18 hours straight to Burbank, CA on the 18th and stayed in a church there.  We were able to serve at  a homeless shelter, rescue mission and retirement home for retired missionaries 3 of the days then had a fun day at Disneyland.  Other fun adventures included Hollywood (in a torrential downpour!), Venice Beach, Glendale Galleria mall and best of all.....the LA Fashion District!!!


My friend, Jill Williamson, and I took the 3 little girls to the Fashion District to check out the deals I've seen blogged about.  It did not disappoint!  I'm talking $1.99/yd fabrics in small shops, Michael Levine's amazing selection in fabric store style and the incredible Michael Levine Loft where fabric is sold for $2.50 a pound!


I felt feral digging through bins in search of fabrics here.  In addition, they have rolls of fabric and notions along the walls.  If we didn't have the little girls along, I could have spent a whole day here.  In the end, I purchased 49 lbs at the Loft plus some notions and a bag of designer scraps for $2!!! The challenge was carrying it 2 blocks back to the parking garage...I was sore for a few days after that one :)

I've finished our 8 loads of family laundry and am starting to wash the fabrics now.  It's an amazing amount of fabric...it just makes me smile :)  If you have a chance to visit the Los Angeles area, make time to visit the Fashion District.  Bargains galore!!!

Thursday, March 17, 2011

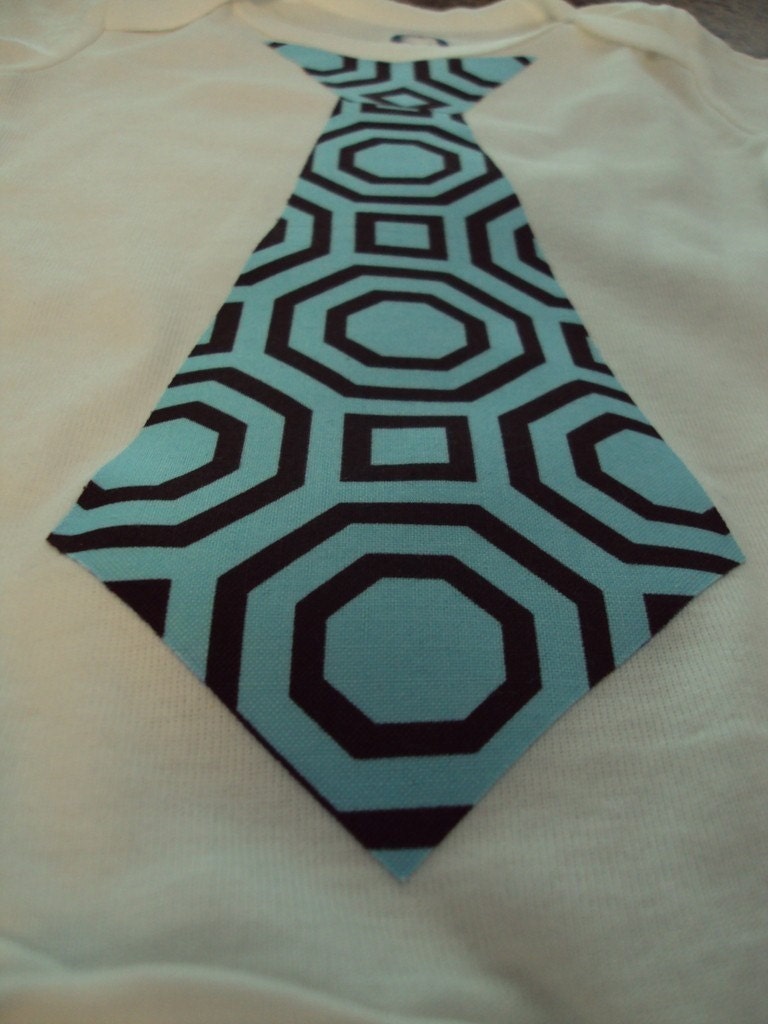
Boys Tie Applique Tutorial

Aren't these embroidered onesies darling?  Meg at the Brassy Apple is sharing a template and tutorial to make your own.  These are great as baby shower gifts or for your own favorite little guy.  Thanks, Meg!

Mama will be on Spring Break starting tonight.  See you the week of March 28th!

Sunday, March 13, 2011

What Mama's Been Sewing

Miss Z's BD custom order
Dan.A's Cowl Neck Vest
What a whirl-wind month it has been!  Last weekend we traveled 300 miles to see my family, then did some frantic sewing on my days off to finish niece Kayla's wedding duvet cover before leaving Fri morning for another 300mi trip for the big wedding.  Our patient census is up, so I'm working more often than I expected.  It's really cramping my sewing style!  I still have pictures to upload and a quick tutorial to finish, but here's a quick peek at what I've been sewing...

Mama Stellato's 'Amelia' tunic
Kayla's apron
Willi & Kayla'a duvet cover
ManiMina's Hoodie dress testing
Testing 'Playdate' dress by Fun4me2

Tuesday, March 8, 2011

February Challenge Voting

I love to read Everything Your Momma Made blog.  Kymy does it all!  She also has over 1000 free tutorials linked on her blog.  If you haven't read her before, check it out!

Each month in 2011, Kymy is hosting a sewing challenge.  February was sewing for someone you love.  Head over to the blog here to vote for your favorite!

Tuesday, March 1, 2011

Dr. Seuss Day ~ Cat in the Hat Tutorial

If you've been with me for over a year, this is old news...If you're new to Mama Lusco, this fun hat comes together in about an hour.  Print off your pattern pieces, pull out the felt, and stitch up a fun hat for your kiddo to wear to school for Dr. Seuss Day!

My kids are excited for Dr. Seuss' birthday and Read Across America Day, March 2.  Their school is providing green eggs & ham for breakfast and inviting families to come participate in reading programs that day.  They have been encouraged to dress like their favorite Dr. Seuss character, so Drew decided he wanted a Cat in the Hat striped hat.  Here's the picture I used for my replica:


Mama Lusco's Dr. Seuss Hat Tutorial/Pattern
fits most elementary age - small adult heads


Supplies:
1/2 yd red felt
1/2 yd white felt
1/2 yd  lining fabric ( I used part of a pillowcase)
Sewing notions inclucing: Sewing machine, Thread (red recommended), Scissors, Pins, Rotary cutter & mat (recommended)
Pattern pieces for hat top and hat brim:
Dr. Seuss Hat Top
Dr. Seuss Hat Brim
Please add 1/4" seam allowance around pattern pieces 

1.  Cut pieces for hat body:  Cut 3 - 3"w x 22"l from Red Felt
                                           Cut 2 - 3"w x 22"l from White Felt
     (Cut lining fabric after above pieces sewn together to form hat body) 


2. Starting with a strip of red felt, sew with right sides together alternating between red & white strips.


3.  Place hat body onto lining fabric as a template and cut out lining.  Baste around all edges, connecting hat body to hat liner.  With right sides of hat together, sew up side seam.  You now have a tube shape for the completed hat body.


4.  Using Hat Top  pattern piece, cut 1 Red Felt and 1 lining fabric.  Baste around edge.


5.  Turn hat body with liner out and pin to hat top with liner up.  Sew around, connecting hat top to hat body.


6.  Cut out Hat Brim pieces: 2 - White Felt.  (see picture above in step 4)
    ( I did not have enough white felt, so I cut 1 piece red and 1 piece white)
    Place right sides together and sew around outside edge.  Turn right-side-out and baste around inside edge.


7.  With hat and brim right-side-together, pin brim to hat and sew around.  


8.  (Optional) Trim seams down to about 1/8" and overcast or serge.


Put on your hat and grab a good book!


Please forgive any errors or omissions in this tutorial.  Email me with questions or suggestions.  Pattern is for personal use only.

Monday, February 28, 2011

Sew Serendipity Book Review


Sew Serendipity by Kay Whitt of Serendipity Studio is a fun, useful book that I'm glad to have in my sewing library.  Unlike my other library titles, this one is just for women.  From the publisher:


Lay it out, cut it out, sew it up, put it on! Sew Serendipity features:
• Hard-back concealed spiral binding: 160 pages
• Full-size tissue pattern inserts included for the skirt, tunic/dress, and jacket-each with 6 variations detailed in the book. 3 basic patterns x 6 variations = 18 ways to show off your skills and style!
• Master instructions are provided for each basic garment, and individual instruction for each unique look. Once you master the basics, changing it up is a snap!
• Each clothing pattern is graded in seven sizes (bust: 32-44; waist: 24-36; hips: 34-46) from XXS-XXL. Use the “Custom Fitting” section of the book to learn how to measure yourself and adjust the patterns to get the best possible fit!
• “Tools of the Trade” and “Sewing Techniques” sections give you an overview of the tools and skills you’ll need to make the clothes in this book.
• Embellish your designs to match your style, whether you’re feeling the need for classic, tailored elegance or you’re in the mood for a little ruffled whimsy. The simple techniques included will make it a breeze to adapt your design to any look you want.
With Sew Serendipity, you’ll find out how to lay out the pattern pieces, cut them out, and sew them up. All you have to do is put them on and strut your stuff! 


The first project in the book is this 6-panel A-line skirt. Simple and flattering, I'll be making one of these soon!


Second comes the peasant-style tunic/dress.  Kay includes instructions how to alter the pattern to fit your shape and offers a cute belt option.

Last but not least is the jacket.  I love the many looks she provides from this pattern.  I haven't sewn a jacket for myself yet, but see one in my future.  The Parisian style on the left below is my favorite.

Kay provides helpful tips & tools of the trade in the introduction as well as instructions for making muslins to perfect the fit.  I found a smoking deal on Ebay and wanted to share it with you...Buy Sew Serendipity for only $14 shipped here.  This is the seller I bought mine from and it arrived quickly in perfect condition!

Thursday, February 24, 2011

Village Frock Look-Alike Tutorial

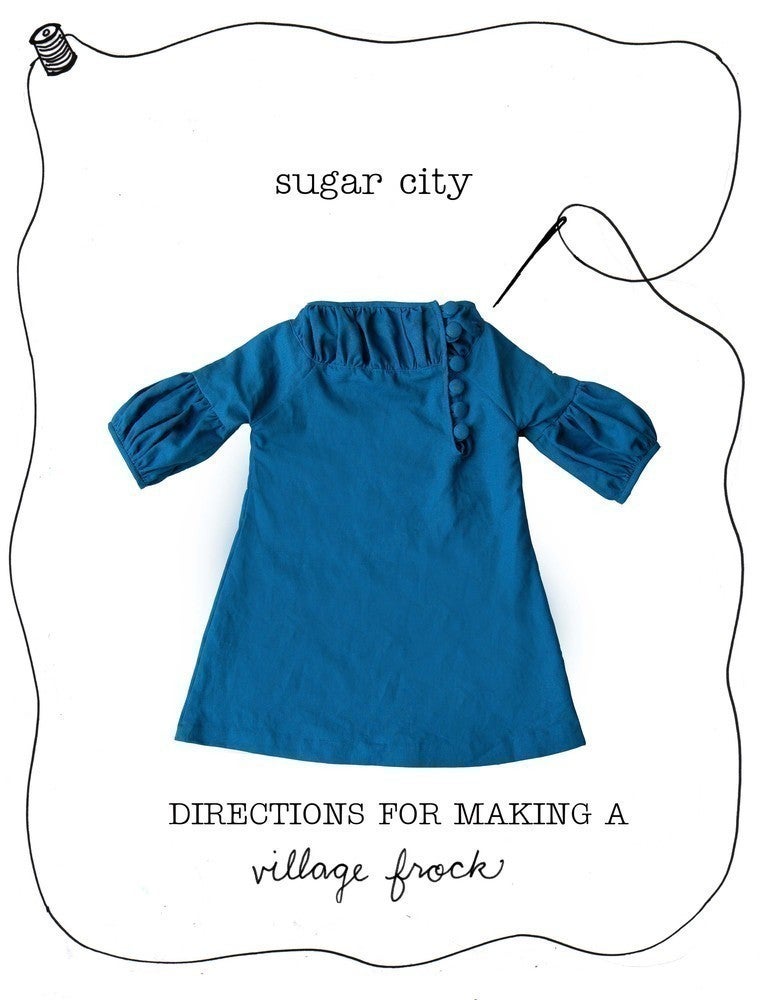
Do you love the Sugar City Village Frock as much as I but can't get your hands on a pattern?
Patterns have been sold out for a year now but once in awhile you can find a copy for sale or trade.  I think I found a size 6 tracing today over at the Flickr pool.

Check out this tutorial from Simply Together for the Simply Sweet Frock.  So darling!  It has a gathered neckline like the SC Village Frock and would be easy to add a button placket and gathered arms like the original.  Sizes 2,4,5 provided in this tutorial.
Photo from Simply Together
The Sewing Dork just reviewed this pattern and is offering a size 3T frock in a giveaway, so head here to read her review and chance for your own little frock.
Photo from The Sewing Dork