Showing posts with label bags. Show all posts
Showing posts with label bags. Show all posts
Wednesday, February 8, 2012
Super-Sized One-Hour Bag Tutorial
Recently, Sew Can She featured the One Hour Bag tutorial from Ric Rac. This was one of the first bag tutorials that I found but I'd never made it. Sew Can She is having a One Hour Bag sew-along, so I jumped in!
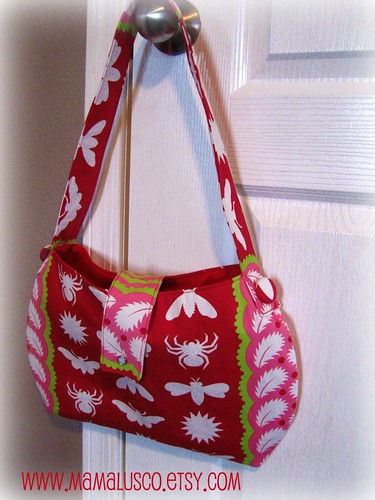
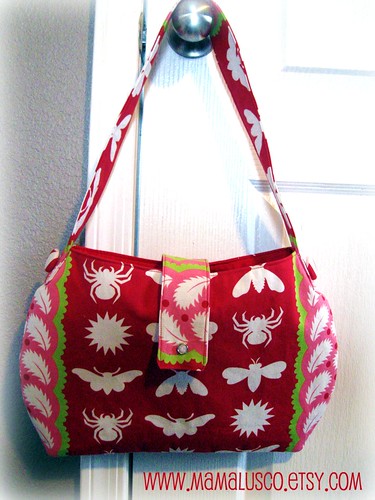
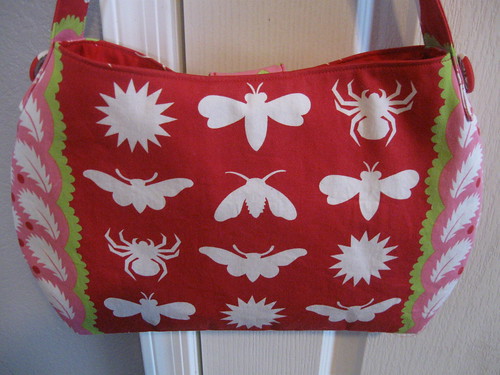
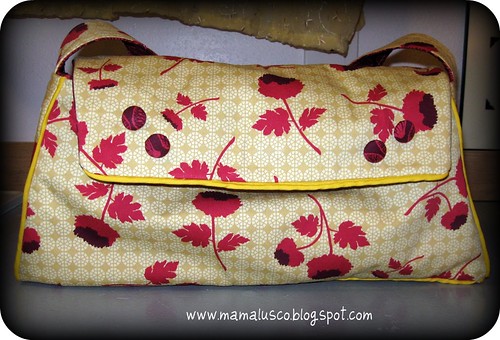
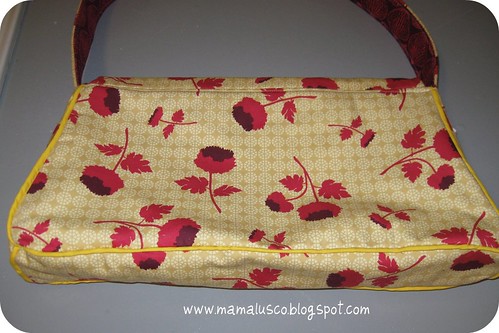
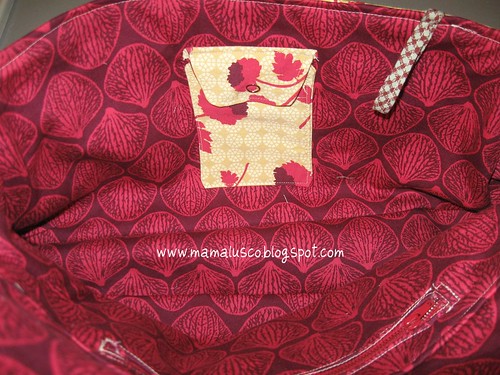
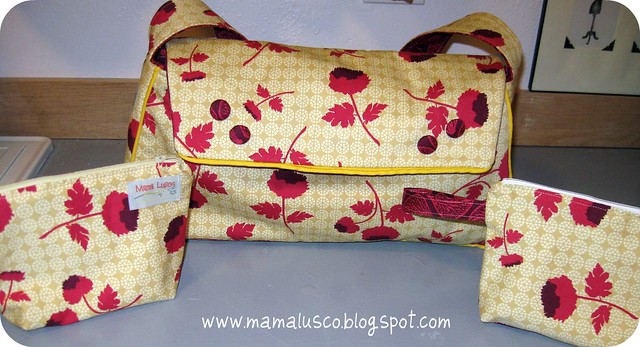
I prefer a bigger shoulder bag, so I super-sized the template. I was out of magnetic snaps, so I improvised with a flap closure with a snap. Flaps usually are enough to keep a bag closed, but the snap will secure it shut if needed. My pocket is also bigger and I sewed it down the middle to make a double pocket. The finished size of my bag is 9.5" tall x 15" wide with a 12" shoulder drop. It's just big enough for my wallet, organizer & Kindle.
This bag took about 2 hours with pressing & topstitching then making & applying the covered buttons.
It's a simple, quick bag. I think these would make great gifts for your favorite friends. I've uploaded a copy of my template here if you'd like to make a Super-Sized One-Hour Bag, too. If you use my template, please send me a photo of your bag...I'd love to see it! Find more versions of the One Hour Bag in Sew Can She's Flickr pool. There's still time to join the sew-along!
Wednesday, January 18, 2012
New Tote Bags
I recently made the Maddie Handbag, a FREE pattern from Homespun Threads. It was the perfect mid-sized bag! The Homespun Thread blog is a fantastic resource for free tutorials, including dozens for baby items, bags & crafts. Aimee's online Bible Studies are really good, too.
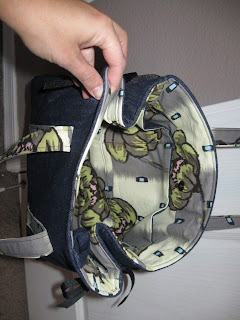
My Maddie Bag is made of denim and Amy Butler Lotus quilting cotton as the liner & accent fabric. It took me just as long to cut & interface my fabrics as it did to sew the thing! I made mine 1.5" taller (13"w x 13"t) and thought it would be a great bag for ladies who like to pack along a Kindle, book or big organizer. I also added pockets across the full width on one side of the lining. It was hard to give this one away, but it was a Christmas present for my mom. I'll definitely be making more of these as gifts & possibly for my shop.
I've marked down some of my tote bags & purses in the shop! Mention you're a blog reader and I'll refund an additional 10% of the item price for your purchases- including jewelry!
Tuesday, January 25, 2011
Bag City!
~~~Hurry and enter my giveaway found here - Ends tomorrow, Jan. 26.~~~
I am a bag-lover. My hubby gives me a hard time about all my handbags; does yours, too? Since learning to sew, I've decided I can't have too many if I'm the one making them.
I was happy to finally finish the 'Not Just Another Pretty Purse' from Sew A Straight Line blog. This one has been on my To-Sew list since it was published in Oct. 2010. I love the chic lines of this bag and it's big enough for my wallet, planner, zip pouch and a sippy! The finished dimensions on this bag are about 18"w x 8"h x 3"d. The tutorial & pattern are available as a free PDF near the bottom of the post. Well worth the time! Here's Mama's version...

I am a bag-lover. My hubby gives me a hard time about all my handbags; does yours, too? Since learning to sew, I've decided I can't have too many if I'm the one making them.
 |
| Photo & Pattern by Sew A Staight Line blog |
Notice there are two zippered pouches? The one on the left is for my giveaway winner and the one on the right is for me! These are really quick and easy after the first one - 30 minutes tops. Check out the free tutorial for mini-zippered pouches over at Fishsticks & Fries blog.
I told you this was Bag City....here are 2 other lovelies I finished last week.
 | |
| Photo & pattern by SimpleThings/Heart of Mary |
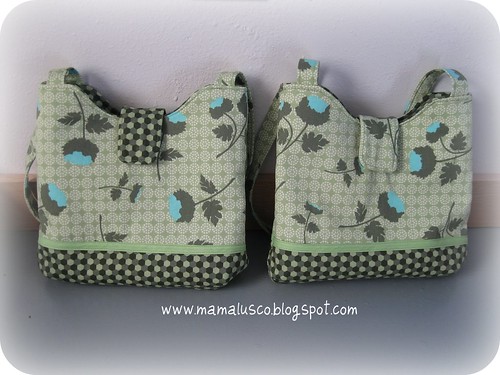
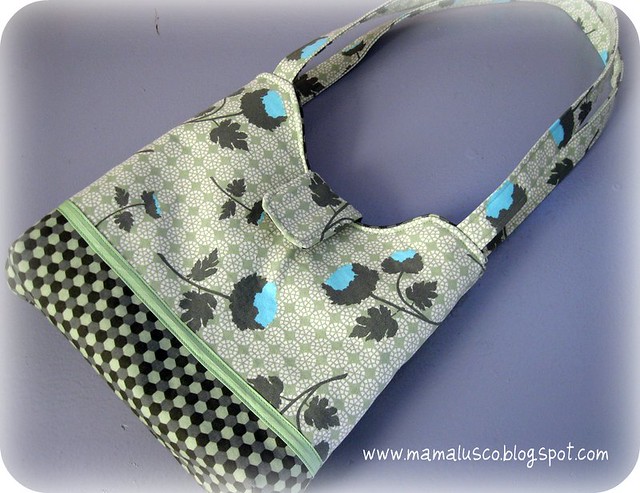
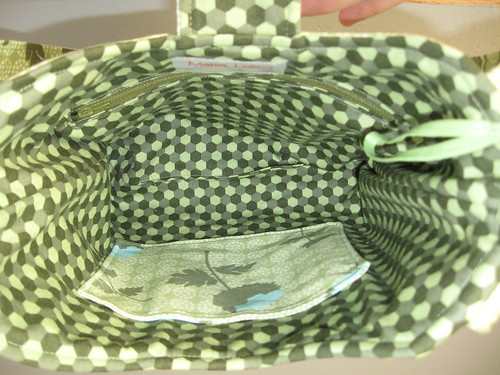
These little bags have lots of detail and took about 4 hours each. This is for a medium-sized shoulder bag that measures approx. 12"h x 11"w x 2.5"d. It has bias or ribbon accents, a magnetic clasp, interior zip pocket and I also added a cell phone pocket & key loop. Perfect for a day out without all the mommy-gear (or your MIL's birthday!) You can find the pattern here in Mary's shop or I think on Etsy as well. I bought this pattern during a B1G1 sale and have made her long wallet also - another great pattern! Here are Mama's versions...
The bag in the 2nd & 3rd pictures is for sale - $35 shipped in the continental US.
Email or comment if you'd like to purchase her :)
I'll be sewing another bag this week for Shannon at My Taylor Made. It's a big pleated shoulder bag and I'm excited to give it a try :) Do you have a favorite big bag pattern? I'm always looking for a new Mommy Bag!

Thursday, October 7, 2010
Mama's Snakeskin Sling Bag
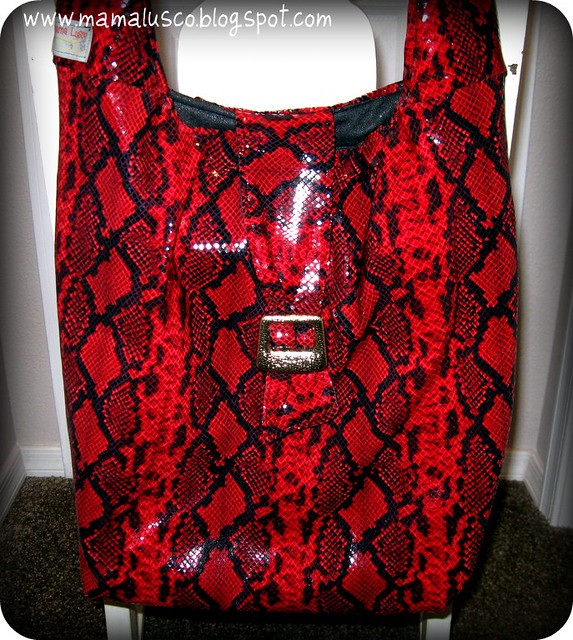
Lemon Squeezy Home is hosting Purse Week. I had intended to make two bags but have only finished one...The Snakeskin Sling Bag.
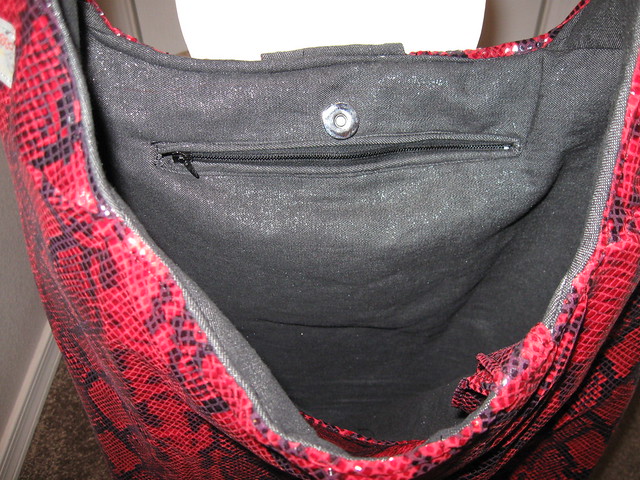
This is an original Mama Lusco Handmade design, a big sling bag that measures 16"w x 18"h x 5"d - lots of room for my planner, wallet, books, sippy cup and snacks! I also included a zippered pocket, phone pocket, key ring, magnetic snap and decorative flap closure. I tried to write down my measurements as I cut so I can reproduce this pattern again.
The outer fabric was a remnant from my talented friend, Jill Williamson,'s collection from her fashion design days. Red is my favorite color and I just couldn't resist this flashy red spandex. I tried iron-on interfacing but it ruined the shiny treatment, so I chose a beefy lining - stretch black denim with fusible fleece interfacing. The bag has great shape and I'm thrilled with the results.
Check out the other beautiful, inspirational bags in the Purse Week Flickr pool. Entries accepted through Oct 8.
Thursday, March 4, 2010
Mama's Ruffle Shoulder Bag & Tutorial
Mama's Ruffle Shoulder Bag & Tutorial
I've been wanting to make a ruffled shoulder bag but haven't found a perfect pattern that I wanted to pay for (I'm cheap!) Instead, I came up with this simple pattern using a fat quarter pack I had in my stash. Here's how it came together:
Supplies
7 fat quarters (FQ =18" x 21") or about 2 yards of fabric
fusible interfacing
magnetic snap closure
O-ring or D-ring or handle hardware (optional)
basic sewing notions
Instructions
1. Cut fabric pieces and interfacing:
- Set aside one FQ for the outer bag and one FQ for the lining; cut interfacing for both outer & lining fabrics & fuse together.
- Handles / Key loop: one FQ - Cut 2 - 5" x 21" strips for longer handle section; Cut 2 - 5" x 10 1/2" for shorter handle section. Cut 1 - 2 1/2" x 10" for key loop. Cut interfacing for all handle pieces & fuse together.
- Pocket: one FQ - Cut 1 - 6" x 18". Cut interfacing and fuse.
- Ruffles: I used 3 different FQ. Cut a total of 12 - 3 1/2" x 18" strips. If you want more ruffles, adjust the width smaller or layer them to get the look you want.
2. Prepare the handles: I like to get this out of the way first. Press all handle pieces and key loop in half lengthwise.
Open and press both sides in toward the center crease.
Press center crease closed again.
Stitch 1/8” or as close as you can along each long side.
Sew O-Ring/D-Ring or Handle Hardware to one end of a short strip.

Attach longer handle strip to ring. Sew across strap about 1" below & above ring and set aside.
You can skip the rings and just make longer fabric strips for a shoulder bag or omit the short pieces for a handbag.

Press Key Loop (2 1/2" x 10") as above and topstitch. Set aside.
3. Prepare the bag body pieces:
Fold main FQ and lining FQ in 1/2 so they measure 10 1/2" x 18"w with the fold at the bottom.
Measure in 2" from each top outside edge and mark.
Place ruler on outside edge of bottom and connect to mark on top of the piece; Cut. Repeat with lining piece.

4. Prepare Ruffle Stips: Sew together 2 strips at their short ends to make pieces equalling 3 1/3" x 36"l.
Serge or narrow hem both top and bottom of the ruffle strips.

Gather along top edge of ruffle strips.
5. Placing your ruffles:
Measure down 2" from top edge of outer fabric and draw line across. Measure down another 3" and draw line: another 3" down and draw a 3rd line across main fabric.

Turn fabric over (or open piece) and repeat on opposite side of main fabric.

Place top ruffle wrong-side-up with gathered edge towards the pencil line. The ruffle will be "resting" upside down on top of the line. Pin in place.

Repeat with other 2 ruffles; turn and repeat on the opposite side.

Stitch ruffles in place. Press downward then topstitch.

Baste ruffles down along edges of bag; trim.

6. Assembling Outer Bag:
Place bag with right-sides-together. Pin along sides and sew.

Pinch down bottom corners to make a gusset. Measure across 1 1/2", mark then sew across line.
Trim corner off. Turn bag right-side-out and set aside.

7. Preparing the lining:
Sew the pocket first. Fold in half to form 6" x 9" piece. Sew around, leaving 3" opening to turn.
Turn right-side-out, press. Topstitch one long end.
Place pocket by measuring down 3" from top of bag and in 3 1/4" from each side (or center to your bag's measurements). If you want two smaller pockets (good for a cell phone), measure center of pocket and draw a line. Sew around outer edge of pocket and down center.

Place key loop by measuring in about 3" on opposite side of lining. Sew across.

Place lining with right-sides together. Sew down one side. On the other side, sew down 2-3", stop and reinforce. Leave 4-5" open for turning. Sew bottom 2-3" to corner.
Make 1 1/2" gussets in corners as above. Trim corner off.

Place the magnetic snap by finding the center of the lining, 2" down from the top edge.
Insert magnetic closure.
Repeat for other side of closure.
8. Add the handles.
Measure in 2 1/2" from outer edge of outer bag. Pin handles & baste in place.
9. Putting it together:
Insert outer bag into lining with right-sides-together and wrong-sides out. Pin top edge and sew around.

Turn bag right-side-out, bringing fabric through the opening in side of lining.

Topstitch the opening in the lining closed.

Press top of bag; topstitch.

Do a little happy dance, because you are done! Please email me if you have questions or need clarification. Pattern is for personal use only, please. I'd love to see pictures of your bag!


Subscribe to:
Posts (Atom)


